
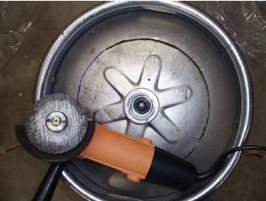
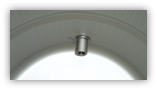
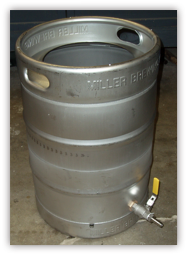
I’m in need of a larger boiler and the logical choice was to make one from a commercial 15.5 gallon Stainless Steel keg. Here’s the way I did it. First: Cut the top opening and smooth the edges. Press in the ball valve in the top to bleed off the pressure (I also drilled a hole in the top to make sure). Mark a circle where you want to cut the top opening. Mine is 10” in diameter, but 12” seems to be common. I used an electric angle grinder with a metal cutoff wheel and it worked really well. I used up one wheel and part of another. Here is a shot half way around. Use a small drum sander attached to an electric drill to smooth the edges down. I also hand-sanded to make a nice rounded edge.
Sunday, February 12, 2006


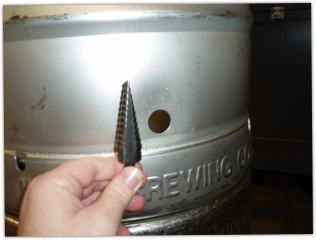
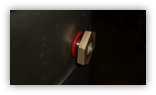
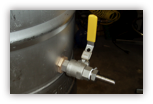
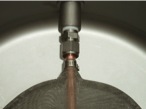
Second: install the bulkhead. I’m using Zymico’s Weld-B-Gone Deluxe+ Kettle Conversion Kit. It requires a 7/8” hole. The keg has a slight curve in it toward the bottom so before I drilled the hole, I hammered on the keg a little to ensure the spigot would be level. You can see the indention in the photo. I then made a mark 3.5” above the lowest part of the inner keg and drilled the hole with a step drill bit. This is the perfect tool for this job. It makes a perfectly round hole. Installing the Bulkhead and Valve is straightforward. Just read the instructions.


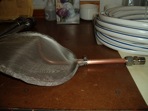
Last Step, install the Hop Stopper from Innovative Homebrew Solutions. This is a stainless kettle screen and copper dip tube that allows you to get nearly all the useable wort out of the kettle without trub and hop particles with a minimum of effort, i.e. no whirl-pooling or siphoning. Here is a link to a test that included 26 oz of hops!!! That’s it. I’m now the proud owner of a Keggle.


Top View
Side View
Bottom View
Installed in Keg
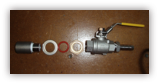
The Parts
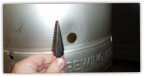
Step Bit and Hole
Inner Bulkhead
Outer O-Ring and Nut
SS Ball Valve